Web Reader Welcome

Selasa, 15 Mei 2012

How to Convert Music from YouTube


This post will tell you how to convert songs that aren’t exist in a download provider. I usually download songs in www.4shared.com but there are some songs that aren’t exist. So how can I have the songs in my music player? That’s really easy…
You know that YouTube has many videos. Now, we just need to download the video, but how? Follow the steps :

  • After finishing all the installment, we can start to download video

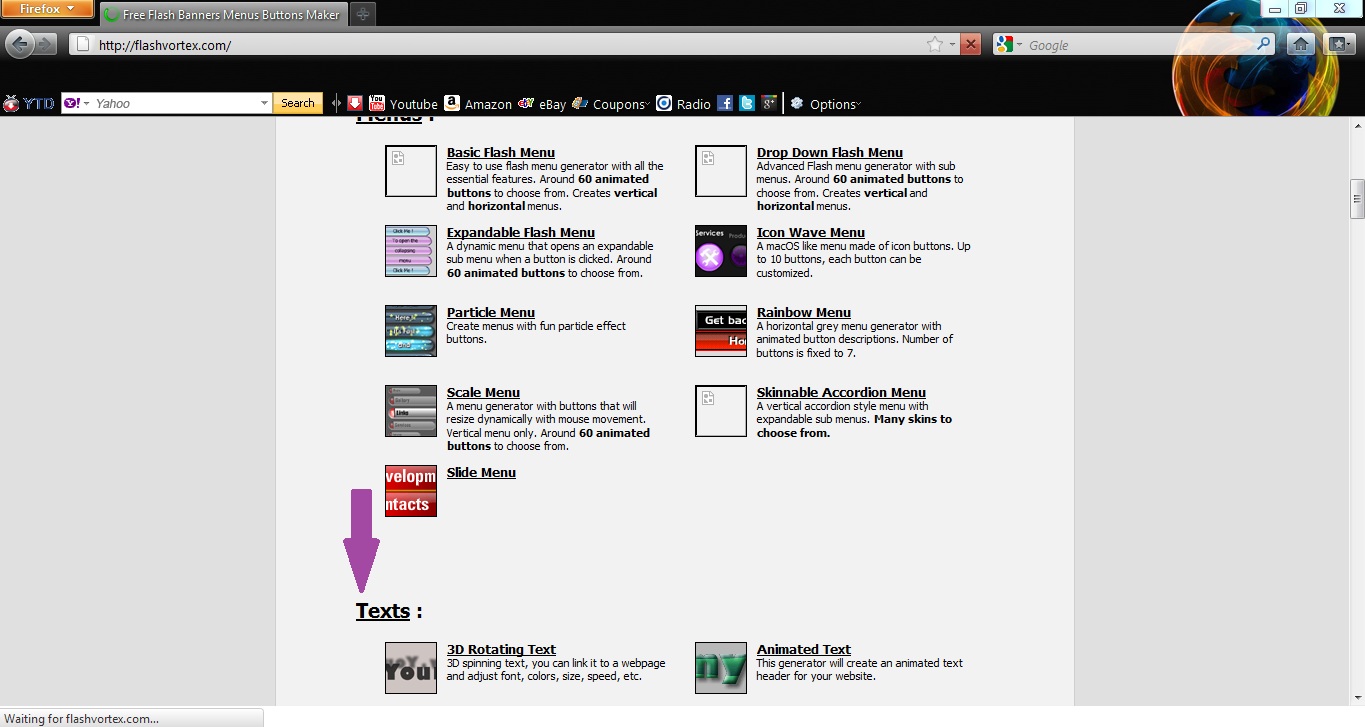
  • Open http://www.youtube.com
  • Next, search the video title you want. As example, I will search for ‘Savage Garden Santa Monica’ (video with lyric only, will be faster to dowload)

  • Then, if I open the YouTube via Mozilla Firefox so I can click on YouTubeDownloader icon, but if I open it via Google Chrome or others, I should push the right click and copy the link


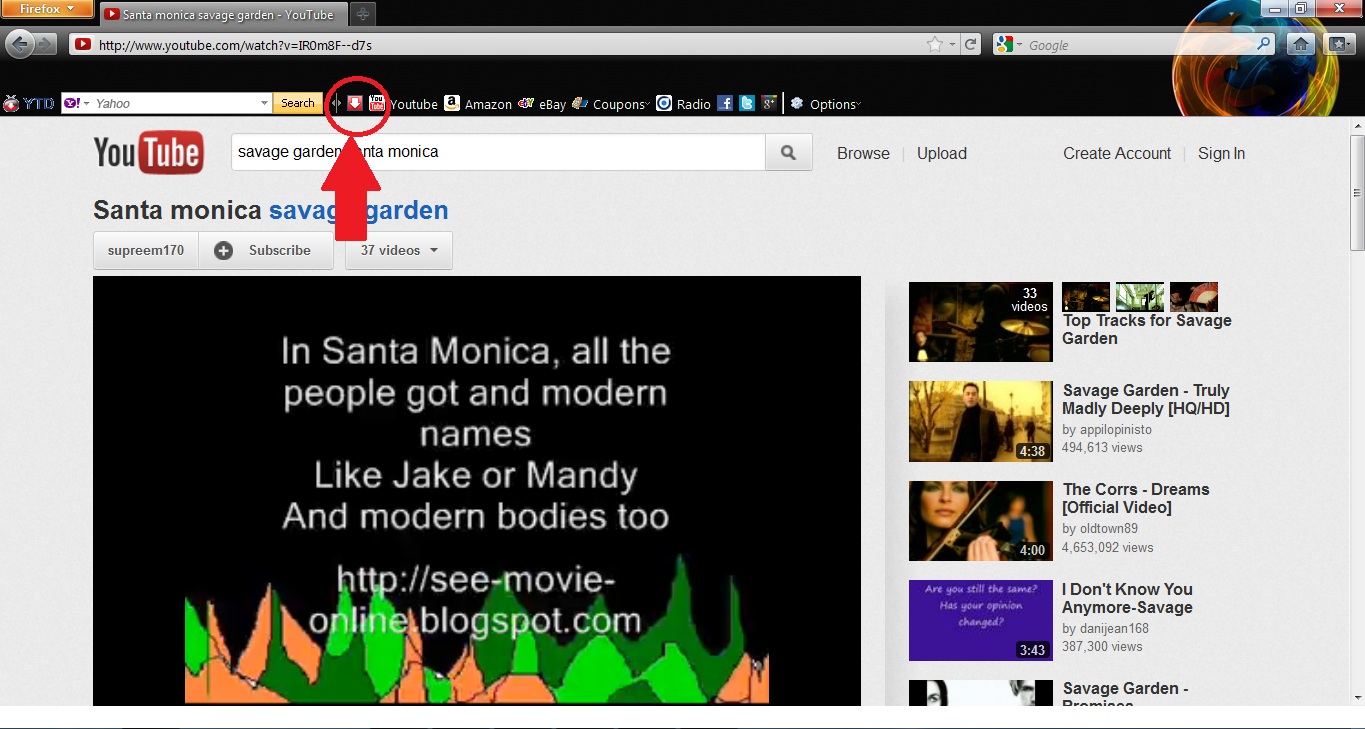
  • After that, paste the link by clicking ‘Paste’. Wait until the video has been downloaded
  • This picture means that the video is being downloaded

  • That’s really easy, isn’t it? Next, you choose ‘convert’ and click folder icon and choose the video you want to convert
  • Next, don’t forget to change the format into mp3 player
  • And convert it

  • The video is being converted
  • Now, you have the song with mp3 format


Usually, converting will be faster than downloading

Well, that’s the steps. But converting has some weakness, most of the songs you’ve converted won’t have album art but that’s not problem if your phone can add album art, or you can add album art using winamp or windows media player but if you move the songs to your phone, the album art will be gone

Now, if you still have questions or problems you can contact me by sending me thw questions via blogger or e-mail : keniaderia@gmail.com

Minggu, 13 Mei 2012

How to Add Moving Words as Your Gadgets


Hi… I want to post something this time. I will post about moving words, like mine. I use the moving words as my ‘welcome’ for everyone. Why do I choose this? Because in my opinion, everyone seeing blogs will not see our ‘welcome’ (sometimes). Because our ‘welcome’ will be a kind of boring maybe, because most of blogger will write hi, welcome to my blog I wrote this… 
Hm, I think that person must be me hehe. All right, let’s see the steps I’ve written for you

  • First, open link : http://www.flashvortex.com or you can also click mine, click on the corner of the box until the word ‘flashvortex.com’ changes into ‘get yours free’

  • Then, there’re some gadgets you want. Choose ‘texts’

  • Now, click ‘edit this’

  • You can fill ‘words to show’ with your own words

  • If you scroll down, there’ll be some settings, you can set the colors, font, and many others

  • After you have finished your words, click ‘generate animation’ for free

  • There, you can see your moving words. If you want to edit it again, click on ‘back to editor’. But if you have been satisfied with that and want to put the gadgets on your blog, copy the code

  • Next, open you blog. Choose layout and click on ‘add gadgets’

  • Scroll down and choose the HTML/Java Script

  • Fill the title and paste the code in the content space. Click save

  • Then, choose save the settings and then you can see your blog

  • And finally the moving words is in your blog


As usual, I really hope that this blog will be useful and if you have some problems or questions, you can send it to me via blogger or e-mail : keniaderia@gmail.com, I'll be waiting for it

Jumat, 11 Mei 2012

How to Edit Picture Using Photoshop

I’ve been confused for a long time, wondering how to edit pictures using Photoshop. But fortunately, my best friend ever, her name is Vanesha Christy, helped me to solve the mystery ( I call it mystery because I need a long time enough to know how does it work). I always want to move a house (or other things) from picture to another, but HOW? Hm… In this post I’ll tell you the steps. Follow the steps :

  • First of all, you must open the Photoshop (you can use different version)
  • Second, click File Open choose the folder place and then choose the picture. Click 'open'

  • And next, open another picture. Use the same steps (FileOpenchoose picture)


  • On Lasso tool, push right click and choose Polygonal Lasso Tool (If you don’t know the icon’s name, you can choose the same icon with the picture)


  • Make the pattern by clicking around the picture you want to take
  • To finish making the pattern, link the line to the start point

  • Then, you choose 'move tool' icon

  • Next, drag the first tab to the center of the screen

  • Click on the picture with the pattern, drag it to the second picture

  • And the picture has moved to place you’ve chosen. If you want to move the picture again, using the move tool, drag and click to the other location

  • To save, click FileSave As you can change the format if you want and finally click ‘save’. You can also change the format into JPG


  • And now, your picture has been edited and also has been saved


As usual, if you have some problems or questions, you can ask me by sending me via blogger or e-mail : keniaderia@gmail.com

Jumat, 04 Mei 2012

How to Add Moving Gadgets in Your Blog


You may wonder how to add some gadgets like moving fishes, moving hamster, moving turtles, and many others. In this post I would like to tell you the steps to add moving gadgets… follow the steps :


  • Then, you click on ‘gadgets’ and you can choose one gadget that you want. Click on the picture and this time I’ll choose moving turtles

  • Next, the ‘add to google’ has function for editing, but if you don’t want to edit just copy the link

  • Now, you must open your blogger, click on ‘layout’ (tata letak) and then push ‘add gadgets’ (tambah gadget) I'll use my another blog to show you

  • Fill the space with link copied, don’t forget to name the title. Next, click ‘save’ (simpan)

  • Click ‘save settings’ (simpan setelan) and then you can check your blog

  • And the moving gadgets will be ready to play


Just a simple way and you can try it…
If you have some questions or problems you can contact me by sending me via blogger or e-mail : keniaderia@gmail.com

Kamis, 03 Mei 2012

How to Add Music Player On Your Blogger


Hm…  Are you dreaming to have a music player on blog? Don’t know the way? At this time, I’ll show you how to add music player on your blog. Follow this steps :

  • Then, you must have account. Or if you don’t have, you can start to register


  •  After making the account or logging in, click on ‘create playlist'

  • Now, you’re in ‘add music’. Add all of your favorite music here

  •  But, you must try the songs one by one. Whether the songs had been disabled by the owner or not. Because if you had the songs added, they will refuse to play on blogger. This means that the owner has disabled embedding

  • After checking the availability of the songs. Click to add on your playlist

  • This means that your song has been added to playlist

  •  If you have chosen some songs, you can change your playlist skin If you want
  • Click on ‘customize’. In customize you can change the skin, colors & styles, and setting (to play automatically or not, to shuffle the songs or not)

  • Then, you click ‘save playlist’ and fill all the information needed. At this part you can write everything as you want
  • Then push ‘save (get code)’

  • This means that your playlist has been saved. To get the code and put it on your blog ‘click here’

  • On left side, you choose ‘blogger’
  • Then you copy the link

  • Next, open your blog. Choose ‘layout’ or ‘tata letak’
  • Click on ‘add gadget’ or ‘tambah gadget’

  • There’ll be opened a new window
  • SCROLL DOWN, and choose ‘HTML/Java Script’

  • Fill the title. And now you must fill the content with the link copied
  • Click ‘save’ or ‘simpan’

  • Then, click ‘save the settings’ or ‘simpan setelan’. Next, you choose 'see blog' or 'lihat blog' to see the music player

  •  And finally your music player will appear on your blog. Now, enjoy it! (this time, i show you the steps with my another blog)


That’s the steps. Not really difficult, right? So, try it now and get your own music player…
If you have some problems or questions, you can contact me via blogger or e-mail to keniaderia@gmail.com
I made the post for educational purpose...